Frog Kingdom

frogs

Today’s theme is frogs πŸ™‚ I’ve honestly been lacking motivation lately as we are on our fourth or fifth cold of the season. It’s been crazy! However, whenever I loose inspiration, I tend to use my supplies to inspire me, whether I need to start using up a certain food so it doesn’t go bad or use a cookie cutter that I haven’t used in a while. Today, it was the latter πŸ™‚


Sandwich PB&J on whole wheat, as usual. Crown and eyes also made with fruit leather. Eye highlights are made with marshmallow bits.
Sides Clementine orange with sprinkles for eyes and a fruit roll up for a tongue. I also put in grapes and a strawberry to look like a flower with a fly on it (raisin with almond sliver wings).


Today I used:

Hello Kitty

hellokitty

Ok I admit it — I got a Hello Kitty sandwich cutter and I absolutely HAD to use it. It helps that my kiddos are deep in the love of all things Hello Kitty so this one is a no-brainer.


Sandwich PB&J on whole wheat. Strawberry flower bow (I cut a large strawberry in half and used a circle cutter to get the shape of the bow). The cutter makes holes for the nose and eyes but to keep them colored correctly, I put a candy coated yellow sunflower seed for the nose and some raisins behind the eyes. The whiskers are done with a food safe marker.
Sides Clementine orange flower with strawberry middle. In the little condiment case is a handful of shelled pistachios.


Today I used:

Caterpillar

catterpillar

Today, we had a no-bread crisis at our house so tortellini it was for lunch! I will forever struggle with making tortellini look good so I decided to make the “side” a bento instead. So, to go with yesterday’s theme, a caterpillar garden it was.


Sides A caterpillar made of vanilla crackers and pretzel antennae as well as candy eyes (I’m kinda loving the candy eyes right now). The little guy is eating strawberry flowers and is surrounded by craisins.


Today I used:

Snails in the Garden

snails

Today we woke up 15 minutes before we had to get out the door. That’s what last week’s spring break did to us! We were spoiled by the awesomeness of sleeping in.

I had a whole cute movie-themed bento in mind for today but without any time, I resorted to doing a quick bento in our new Lunchbot box! I was so excited to get these. I think that bento is easier to do when you have a box already divided for you so that you just have to fill up those little areas. So I got us a Duo and a Trio on sale (wish they had had the Quad too!) The other trick I used today is that I relied heavily on my supplies to make the whole thing happen, rather than coming up with stuff from scratch (for example, I’ll usually take some time to make the right size eyes, but today I just used some peanut butter to glue pre-made eyes on an orange).

So today’s bento was a theme I had in the back of my mind ages ago. I usually pick the theme and then pick a container to fit but I was excited to use the Trio! So I looked through my cookie cutter stash and remembered the snails. Kindergarten Kiddo LOVES snails. She loves to find them all around our garden and keep them in a box as “pets.” Well, better in a box than on my artichoke plants.


Sandwich PB&J. I had big bread so sandwich-wise there are two snails, one circle-flower, and one hidden circle sandwich under the orange snail.

Sides The orange snail is one design that seems to be making the rounds in Pinterest and it was so cute I had to include it here. My little spin on it was to make him look goofier with some candy eyes πŸ™‚ Also a fresh mozarella stick with a tiny marshmallow flower middle on a bento flower food divider.
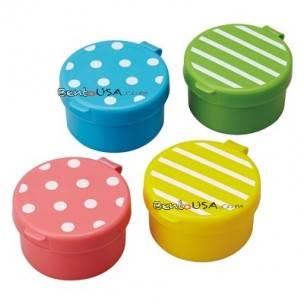
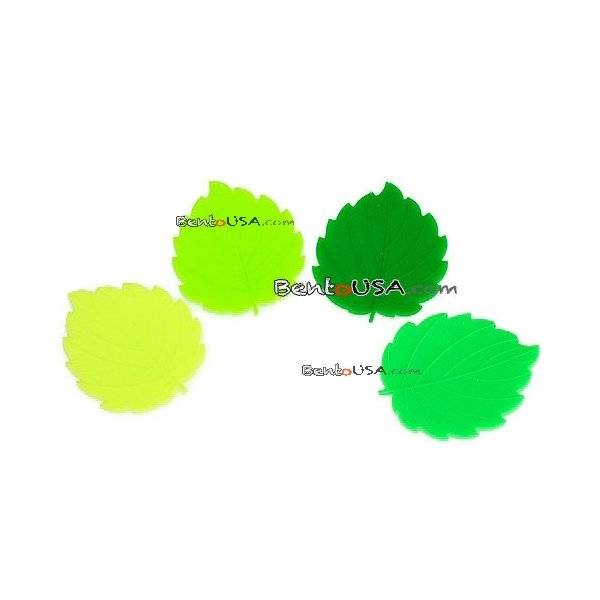

Today I used:

Growing Mushrooms (Tips and Tricks)

In an effort to be a little more connected to our food, and as a fun science project, the Kindergarten Kiddo and I decided to raise some mushrooms. These guys (bought on Amazon and from a company calledΒ Back to the Roots) grow very quickly so I took the opportunity to experiment with time-lapse. This time-lapse was taken with the OSnap! Time Lapse appΒ on an iPad 2. I was trying out the “simple” time-lapse as opposed to the more complicated (but nicer-looking) one with my camera and an intervalometer (which I might still do).

Growing the mushrooms was pretty fun too because of the quickness of their development. It took us a while to get it going though, more than the purported 10 days to mushrooms. In total I think we spent nearly a month and three water submersions of the “brick” where they sprout from. I contacted customer service and they helped me out but even then it took an extra nearly two weeks for them to sprout. Back to the Roots, though, being a great company, sent me a new kit to try out (before my first kit sprouted).

Growing Mushrooms tips and tricks

  • Moistness is key. We had a few pinheads dry up even though we misted twice a day like the instructions said. I upped the misting to four times a day and they did much better.Β 
  • Air circulation. It started to get warm in our spare bathroom where I set up the lighting for the time lapse and so I needed to open a window to get some fresh air going. Mushrooms breathe oxygen, not carbon dioxide like plants.
  • Mushrooms have a circadian rhythm. I originally set up the lighting so it would be consistent throughout the video and not flicker around like it does but I think the mushrooms were doing better when there was more light sometimes and less light other times so I left a window partially uncovered. Makes for a not-so-great time lapse but a nice crop of mushrooms.
  • Twist off, don’t cut. When you are ready to harvest, twist the mushrooms off so the stumps still have the ability to become more mushrooms.

Mmmmm. Just looking at them makes me think fritatta πŸ˜‰


Today I used:

My Little Pony: Skeletwinkle

MLP_Sculpt

For some reason, the kiddos being on spring break makes me feel extra crafty πŸ™‚ I think it’s because my husband has also some days off and I’ve pawned… um, lovingly put him in charge of the children sometimes. So I had time to play around with some different crafty things (hence the dollhouse furniture, the sharpie eggs, etc.) One thing I had lying around was some Sculpey, which I had originally bought for some dollhouse furniture. Sitting around with my youngest kiddo and my eldest kiddo, we played with the clay stuff and I was trying to amuse her and I made this one. Of course, the five year old in me did a little dance when I saw that it actually resembled a My Little Pony. And so I selfishly kept it (but made a little one for her) and painted it for myself. I still have to get on painting the little one.

Edit: She has a name! Skeletwinkle πŸ™‚

And some in-progress shots:

pony1

pony2

The Dollhouse Furniture Continued…

I’m bound and determined to get some of the more fun projects done with Kindergarten Kiddo around this week. So I tried to finish up the furniture in their dollhouse (see previous dollhouse kitchen postΒ here) … only to be put back in the dollhouse furniture making business a half-hour after these pictures were taken… obviously I need to make these things more Preschool Kiddo proof πŸ˜› Among the casualties were part of the stove and the utter annihilation of the bunk bed.

The whole dollhouse:
dollhouse

Living room, now with art on the walls and a TV (with TiVo!)dollhouseliving

Bedroom with bunk bed, wall portrait, desk with chair, nightstand & lamp:
dollhousebedroom

Le Toilet! Literally, a toilet, a “Jacuzzi tub”, wall mirror and sink:Β dollhousebathroom

Oh well, at least I have pictures. Back to the workroom.

Bunny silhouettes

bunnies

Today is the first day of Spring Break. And my playgroup’s post-easter hunt… so I made these to share πŸ™‚ Of course, I saw the idea on Pinterest somewhere and I kinda wish I had used chocolate, but cute enough? They are made with Nilla wafers and candy melting wafers. I had black and white that I wanted to use up so I made gray bunnies, but brown ones would’ve been cuter, I think. Oh well, next time!

Easter Eggs

egg3

The kiddos and I dyed eggs yesterday. In my quest to make it as easy (and mess-free) as possible, I bought an egg spinner. It was a pretty good time had by all. We also colored some eggs with regular ol’ crayons πŸ™‚

Down here are my personal pet project eggs. I wanted to see how I could work a drawing on an egg. Turns out Sharpies are a bit difficult to maneuver on eggs, but I think they came out nicely.

egg2

egg1

egg4

Today I used:

Easter Bento

easter

Since today is our last day before Easter, I made the Kiddo an Easter bento! Love to make these little chicks because they come out super cute, but they are tricky little suckers. I made these last night and left them in the fridge, but I think next time I’ll make the eggs at night and cut them in the morning — the fridge dried them out some and made them slightly crusty at the yolk πŸ˜› Also, note to self: do not leave open baby carrots in a fridge — they can and will wilt and dry up πŸ™ I didn’t have time to cut more carrots so unfortunately, that’s why the carrots in this picture look a little sad. The Kiddo is appreciating broccoli more now so I added some fresh broccoli in hopes that she will eat it at school.

easter2
This mini-snack bento I added as a little treat. I just HAD to work the treat bunny egg into an Easter bento. HAD TO.


Main Bento Yay no sandwich today! Needed to work in some protein so made some chickie eggs with black sprinkle eyes and a carrot beak– chick eggs cut with a v-shaped knife to make my life a whole lot simpler. Whole wheat crackers and a Swiss cheese bunny head. Broccoli for grass. Baby carrots (a tad dry!)
Snack Bento Annie’s Cheddar bunnies; a little chocolate carrot and inside the treat bunny, a handful of pistachios. I also added a fresh cut apple into her lunch because she needed some fruit in there for sure.


Today I used: